KTM 950 Clutch Basket Replacement
Steps on how Johan replaced the clutch basket with an reinforced after market clutch basket on the KTM 950 Adventure.
This will be a quite long post.
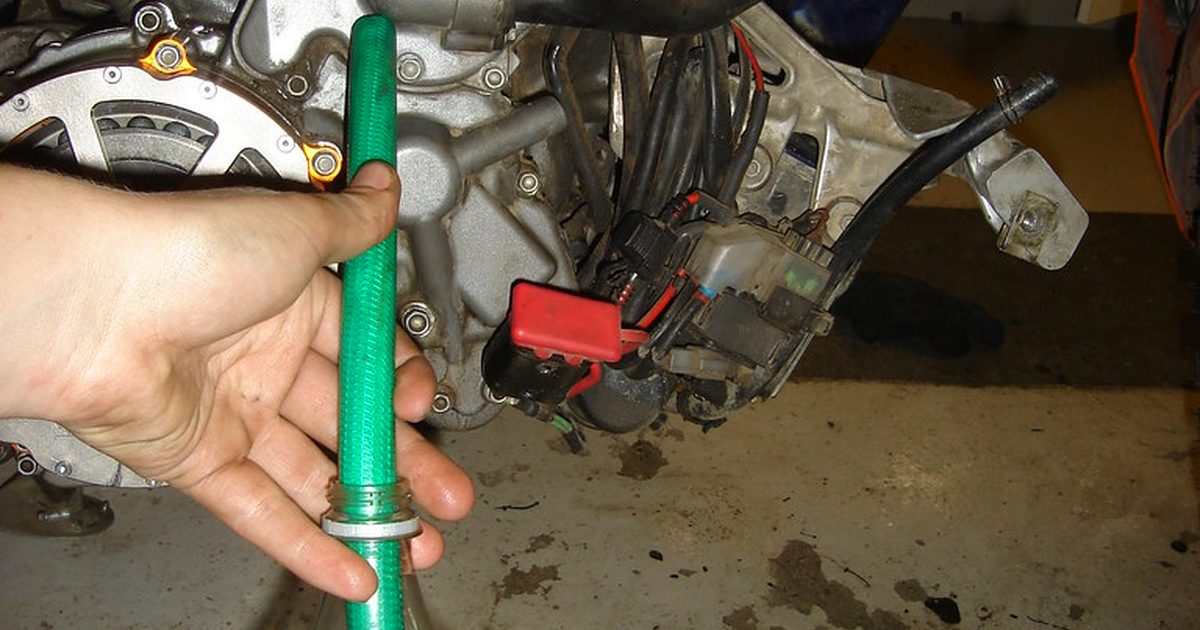
Started with draining the coolant, a garden hose and a bottle to collect:

Hmm glad i dropped the hose while the bottle still was empty:

Engine side off, and as usual i ripped the paper gasket so i suggest if u go this deep into the engine have a spare gasket at home.
Parts number for that gasket is: 60030025000

Some graphite or something, clutch plate wear? If u know what caused this please comment and let me know.

1 more picture of it:

Started removing some clutch plates, then went for the lock ring that can be seen:

Removing clutch slave to get pin holding push rod out:

Inner clutch hub removed, was very easy this time since it was only torqued as my manual says to 130 Nm last time i had it apart:

Getting the needle bearing out of the clutch basket was a bit tricky but with two magnets and some wiggling I got it out:
With the bearing gone you can get it out:

The new beefier CJ Design basket to go in:

HERE I FORGOT TO PHOTOGRAPH THE SMALL SPROCKET BEHIND THE CLUTCH BASKET DRIVING THE OIL PUMP IF YOU DO THIS DON’T FORGET TO MOVE THAT SPROCKET TO THE NEW BASKET
While I was this deep into the bike I checked up on the Oil pump.
So in with the new, and needle bearing, with some wiggling and pushing I got it in:

Almost in place:

On with the washer:

Inner clutch hub, discs another washer and finally the nut, 130Nm with loctite:

A tie down holding the rear wheel and a high gear worked fine both for loosening the nut and tightening it back up:

Cleaned up that graphite stuff:

Push rod back:

Pin on the other side:

Took out the clutch oil jet, with a hose and vacuum cleaner it was easy:

Drilled it out with a 0,75mm drill and put it back:

Bolted the left side back together:

Cleaned the threads on the bolts holding the pressure place, since its so low torque on them i want clean threads for the new loctite:

Gave up here for the evening!
New day and my new camera have arrived:

Left side was done so back on its side to work on the right side:

Cleaned gasket surface on the engine:

Rekluse pressure plate:

Some wear in the middle:

2,8 Nm to torque these up:

New gasket in place, very easy with bike on it side, otherwise a little grease on the engine part helps hold the gasket in place:

Engine side back, and as usual I forget about the ground wire in the bottom right but don’t worry I found it:

Removed the gasket from the water pump to clean it up, the dentist torture tool is good to use:

Water pump and exhaust back in place:

And forgot the drain bolt again, a bit hard to tighten with exhaust in place but not that bad:

With the oil I was able to reuse i filled up the oil tank and it was all the way up:

So could start it finally, the new camera handles HD recording so tried a short movie starting the bike click the video to go watch the HD quality:
All bolted back up:

End with some pictures of the old basket, how long before I would have started loosing teeth on it?


And that was it for the clutch baskets replacement!
Hope you find it useful!